How to add Facebook Social Recommendation Bar to Blogger

Facebook has recently released the social plugin for Wordpress officially but not for blogger but by using some trick and tweak many professional bloggers has added that plugin to blogger blogs. Well adding this plugin to blogger might help you in boosting out your traffic and gaining some more unique views.
The recommendation bar displays articles right after the person has ended reading the current post and only the articles previously liked our displayed. It will expand only when a person has reached a particular level. It is somewhat similar to the recommendation plugin and shows the same likes and clean posts.
So now follow below tutorial on how you can add this one to your blogger blogs and enjoy some more unique page views.
1. Creating a new Facebook App :
First of all you need to create a new facebook app for this plugin to work out. Creating app is really simple you just need check below steps and follow the same.
1. Visit Facebook Apps Page and click on +Create New App
2. Now just type the name Recommendation-Bar or anything you like in the below image.
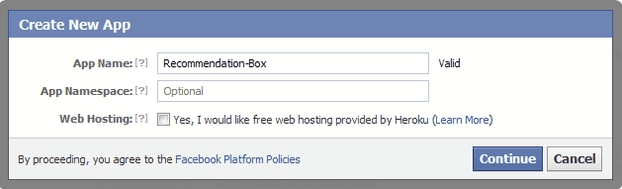
3. Now click on Continue and than enter the captcha code and go to next step.
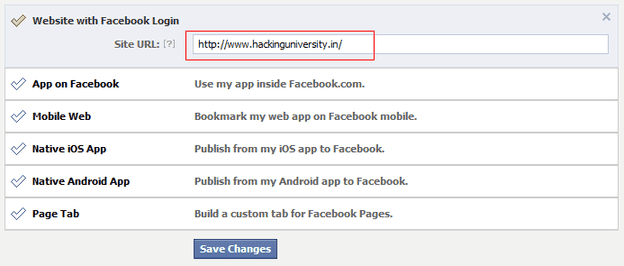
4. Now your app will be created and you need to add your websites name like below and click on Save Changes.
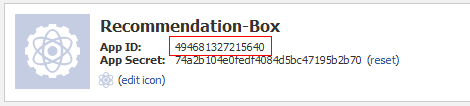
5. Now you will see two lines with numeric number that’s the app ID and app Secret like below just copy the app ID and paste it into the notepad.
2. Adding Recommendation Bar to Blogger Blog :
Now you app is created its time to add this amazing recommendation bar to your blog, just follow below steps and you will have this running on your blog.
1. Go to Blogger > Template and take backup of your template.
2. Now navigate to Template > Edit HTML and click on Proceed.
3. Search
<html and replace it with <html xmlns:fb='http://ogp.me/ns/fb#'
This step will make this plugin compatible in older version of Internet Explorer and hence giving it more stability and compatibility.
4. Now search for
<body> or <body expr:class='"loading" + data:blog.mobileClass'> and paste the below code right below it.<div id='fb-root'/>
<script>
//Facebook Recommendation Bar
//<![CDATA[(function(d, s, id) {
var js, fjs = d.getElementsByTagName(s)[0];
if (d.getElementById(id)) return;
js = d.createElement(s); js.id = id;
js.src = "//connect.facebook.net/en_US/all.js#xfbml=1&appId=***************";
fjs.parentNode.insertBefore(js, fjs);
}(document, 'script', 'facebook-jssdk'));//]]>
</script>
<b:if cond='data:blog.pageType == "item"'><b:if cond='data:blog.pageType != "static_page"'><div style='z-index:999999; position:absolute;'>
<fb:recommendations-bar action='like' max_age='0' num_recommendations='3'read_time='10' side='right' site='HACKERSHANDS.BLOGSPOT.COM' trigger='40%'/></div>
</b:if></b:if>
5. Now replace those stars with the app id you copied earlier and also change the domain name with your blogs domain.
Now this plugin is up on your blog and is perfectly installed, for checking it out just refresh your blog and scroll to about 50% and see it expanding from below. A very big thanks to MyBloggerTricks for creating this awesome easy implementation tutorial.

No comments: